How to add Row Level Security to your data?
- Vani Agarwal
- Jul 5, 2021
- 3 min read
Some of you must be wondering what exactly does Row Level Security means? Well, I know I had some questions few weeks back when I had to apply this for a client's work and so I did some digging online and with the help of my colleague Mohit, I was able to do so.
RLS could sound really difficult but it actually turned out to be pretty simple, so let's get started.
Row Level Security (RLS) in Tableau refers to restricting the rows of data a certain user can see in a given workbook or data source at the time they view the data. This allows you to better control what data users see in a published view based on their Tableau Server login account.
In simple terms, it means allowing certain people to see something out of your entire data and not allowing some users to not view certain parts of it.
The first step to apply RLS is to figure out who are your users, and what exactly do you want each one of them to be able to have access to.
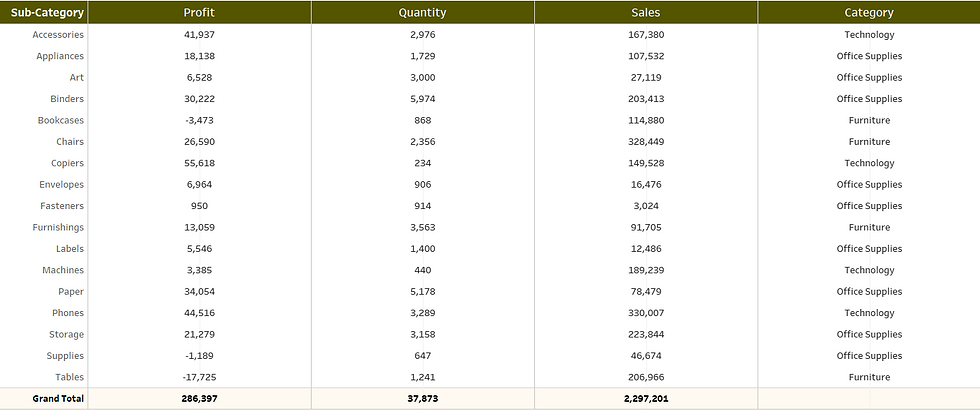
As usual, let's understand this with the help of Superstore Dataset.
Let's say the store has 3 user groups:
One is the stakeholders which consists of 4 people who will have access to the whole data (no filtering)
Second would be the regional store managers who will only have access to the data of their own regions.
Third would be the Product Managers and each Category of product have their own supervisor.

Once you login into Tableau Online, you'll be able to see a similar side bar as above.
The 3 groups which we created above needs to be created after clicking on groups option. The Users will have all the email ids of the people in all 3 groups.
Once we have our user email ids in place and sorted, next thing would be to map those email ids with our data to tell the data which row should be accessible to which user.
Let's say our east regional head's user id is eastregion@gmail.com, north regional head's user id is northregion@gmail.com , one of our stakeholder's user id is stholder1@gmail.com and the product manager who is in charge of Furniture, his user id is furniturepm@gmail.com and the one in charge of Technology, his id is techpm@gmail.com
Now, all we need to do is add a column of user ids in our data and against each region and product, we put the corresponding mail/user ids whom we want to have the access to that row. The stakeholder's email ids will be in every row since they will have the access to everything.

(You can also add 3 mail ids in 3 different columns and concat them in tableau. I did it in backend itself)
Once we have added the user ids to the specific rows, we need to make a calculated field in tableau to tell it that this is the condition you need to follow and filter out rows when a particular user logs in into tableau online with their user id.
The calculated field #RLS contains the below calculation:
'CONTAINS(User IDs, USERNAME())'
Now, drag the RLS field to your filters and select true. Now, you will be able to view the data that corresponds to the email id you have currently used to log into your tableau online.
To check if it's working properly in the desktop itself, you can select different users from the dropdown at the bottom right corner in tableau desktop (note: you only get the option if you are logged in using tableau online)

(Note : All the users in the 3 groups we made above will be in this dropdown. You can select any and see if the RLS is working fine or not).
Thank you for reading. There are a lot of other ways to apply RLS and different methods might be needed for different requirements, so refer to other blogs online to understand the way that works best for you.
As always, feedbacks and suggestions are always welcome.
You can reach out to me on any of my social media handles in case of any doubts and I would be happy to help.


Comments